
I was interviewed by a Russian craft blog; Paper Fun, last week.
I was so happy to be asked about this.
You can take a look at the blog here.
I have also made a small tutorial for them, that was out the 6th of February.
You find that here, if you want to read it in Russian.
If not, you can see the english version right here :)

Picture 1 :
This
is how I like to do the photos. I silhouette them like this. And then place them
into new scenes.
And
I could never been without my scissors from Tim Holtz. I`ve had it for years
now, and it`s the best!

Picture
2 :
I choose a background paper (here, one from October Afternoon), and add some
Gesso to it. I usually use a palette knife to drag the gesso over the
paper.

Picture
3 :
When the gesso`s still wet, I roll a roller stamp over the background. I
love this crackle stamp from Stampin` up. As you see, I don`t roll it only in
the Gesso, but I roll it over some of the other background too.

Picture
4 :
When I wait for this to dry, I start painting my chipboards. I chose black
for this lovely lamp post
from Blue Fern Studios. I use acrylic paint.

Picture
5 :
I also paint a fence, that I first cut in two. I have used grey acrylic
paint, and added some small dots of brown, to make some more life to
it.
You
can also see here that I have used the crackle roller stamp again. I used gold
paint on the stamp, and rolled it over the lamp post. I think it gives it more
character in that way.

Picture
6 :
I have cut out some small, yellow pieces of papers from a pattern paper to
make light to the lamp post. I just glue it on the back of the lamps, and then
cut round afterwords.

Picture
7 :
When the gesso background is dry, I start placing things on it. I don`t glue
it on at once. I first try out all the things I want to use, and see if it looks
ok. Then I use addhesive and place it where I want. As you see, I have used a
couple of clouds here. I have also cut out a circle of yellow pattern paper, to
make a moon behind the clouds. The lamp post is glued on, and then the
cheesecloth.
I
have kept the cheesecloth white here, to make it looks like snow. But I often
color the cheesecloth with mist. You can take a look at my blog if you
want.

Picture
8 :
Things that are going to look like it`s a bit far away, I glue directly to
the background. And things that are suppose to be closer to me, I use 3D glue
dots/squares. So here the lamp post is glued directly to the background, the
fence is placed with one set of 3D addhesive and the photo of my daughter has
two sets with 3D addhesives.

Picture
9 :
Here you can see the lamp post a bit closer. You see how the gold paint
makes more character to it. And also the yellow pattern paper.
Picture
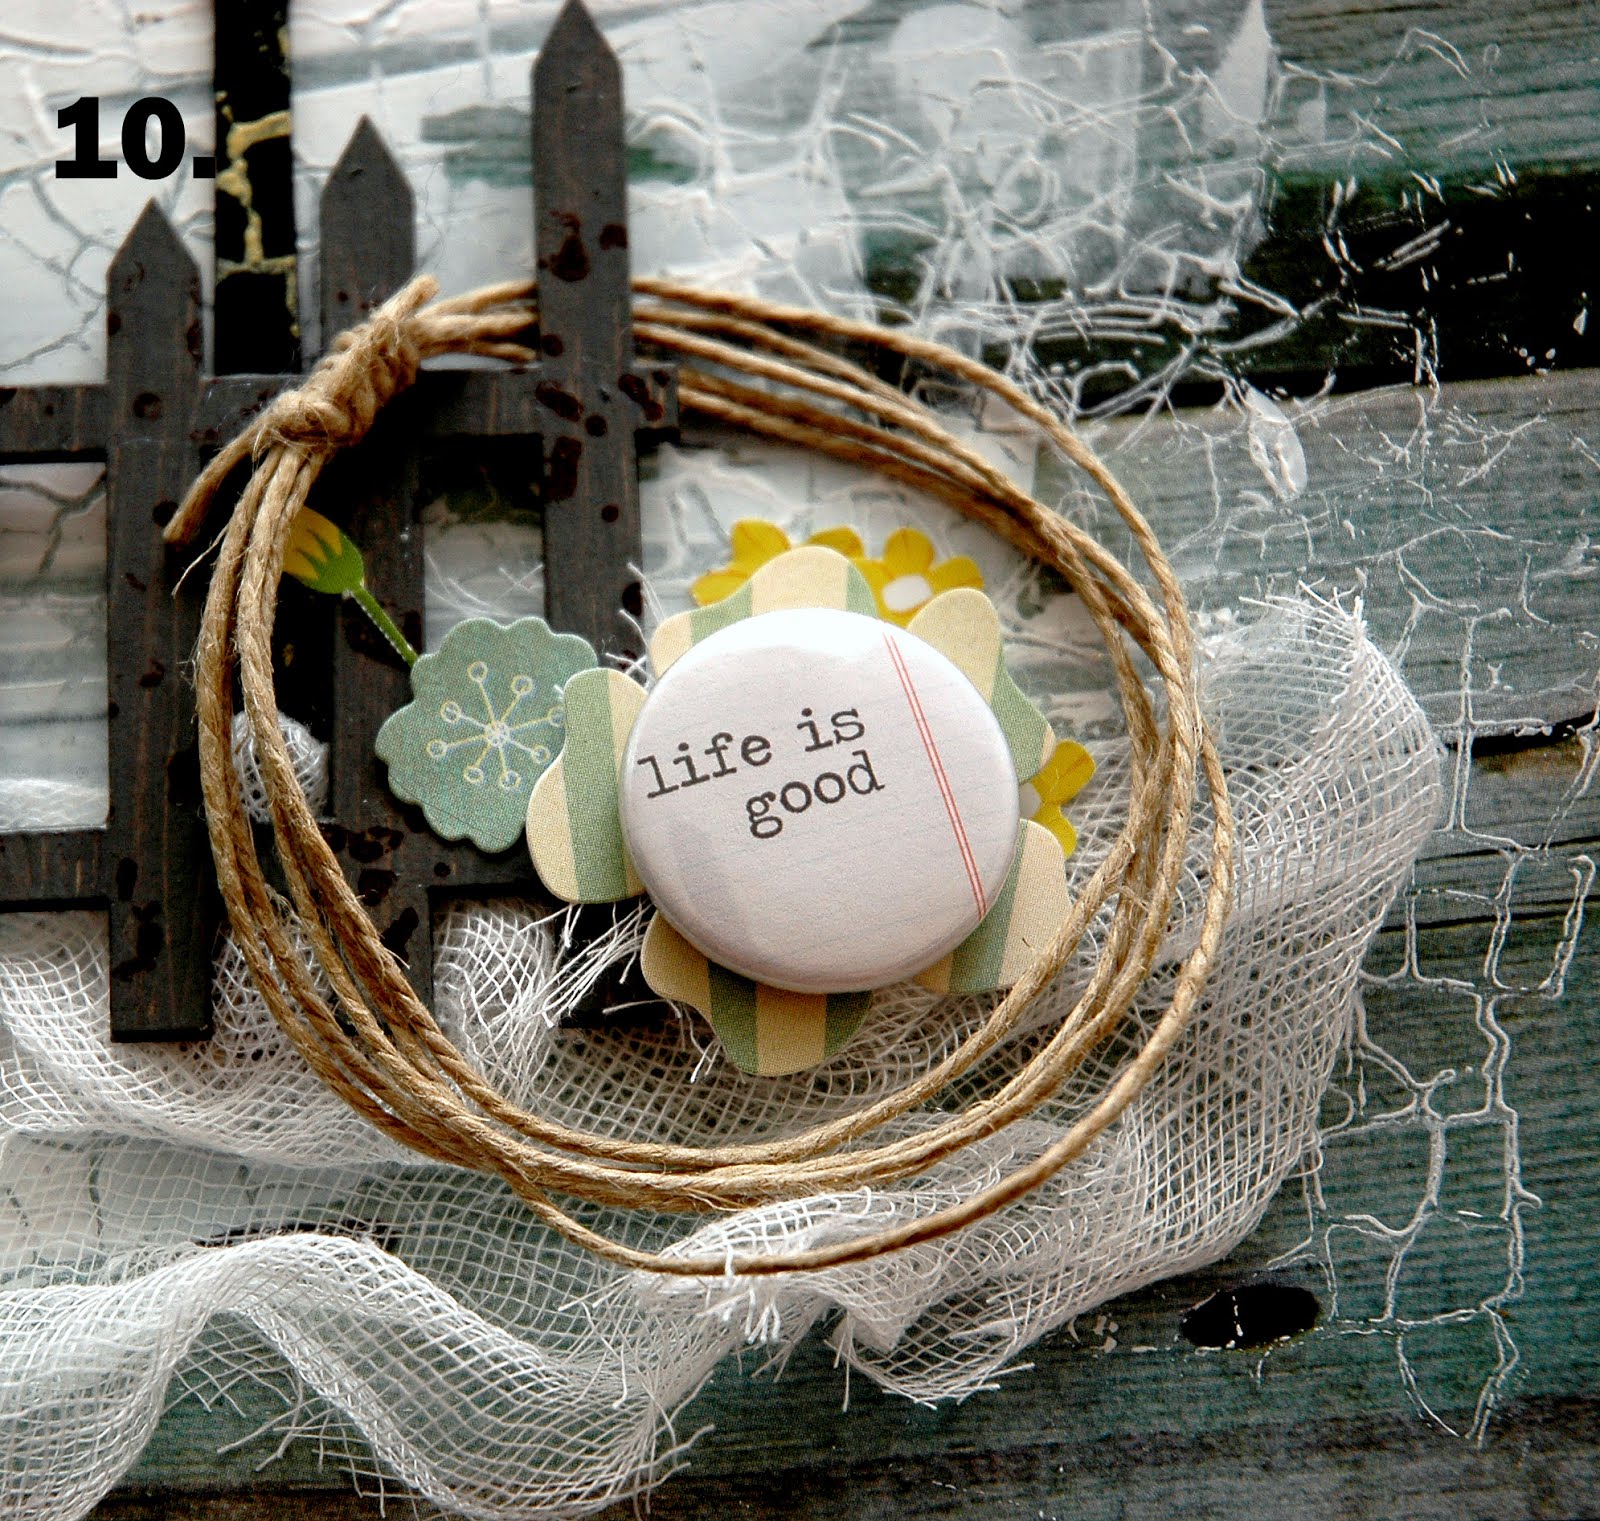
10 :
I add some small details to the page. Here I have used some twine, hanging
from the fence. And some winter flowers stickers and a badge.

Picture
11 :
I also cut out a tag from an Authentic pattern paper and placed over the
end of the fence. You can see here that I have glued some of the cheesecloth
over my daughter`s shoes. So it looks like she is sitting in snow.

Picture
12 :
At last I add a title to my page. And here is the final result :)
Hope you liked the tutorial :) Have a nice Sunday!

12 comments:
Fabulous tutorial, Brit - really, really interesting & wonderful to see how you create...the roller stamp is a great idea! I have one of these & don't use it enough:):):) TFS!!!!!!! LOVE the end result, too - of course:):):)
Brit, thanks again :)))
Nataliya :)
Dette var virkelig inspirerende! Nå må jeg snart prøve meg på en Brit-LO... :-)
Totally awesome Brit ..!!
wow!!! fantastic tutorial!! thank you!!
Love to hear your creative process! TFS!!
It is the wonderful - thank you so much!))) Love the way you do your LO's...
Awsome, love how the finished LO turned out and thanks for a fab tutorial.
Ønsker deg en ny, fin og kreativ uke!
En flott Lo. Takk for at du deler fremgangsmåten :-)
this is fantastic!! I just love what you did with that lamp post!! you are so clever. I love the yellow lamp idea and as usual love the crackle effect!! I finally found it as they restocked the ebay store!! got myself some crackle!!
Fantastisk flott LO og kjekt å se hvordan du går frem. Gleder meg til vi snart treffes... knib
Thanks you for the tutorial! I like your style really. It's very interesting to know how to create these wonderful pictures.
Post a Comment